Have you ever experienced tricky lighting or multiple variations between dark and bright areas when taking photographs? If you want to figure out how to fix it yourself through trial and error then you can stop reading now. If you want to learn how to correct this quickly and easy now, then please keep reading.
When I started out in photography I was taking many still photos in natural lighting. One of the biggest problems I ran into was different exposure levels in my photos. Many day photos of mountains and sunny skies were ruined due to this fact.
I did learn on my own that I could take multiple photos of the same scene and change settings for each. I took a few photos with my exposure set and focused on the sky then the same for the ground. In post editing I would take the multiple photos and merge them together.
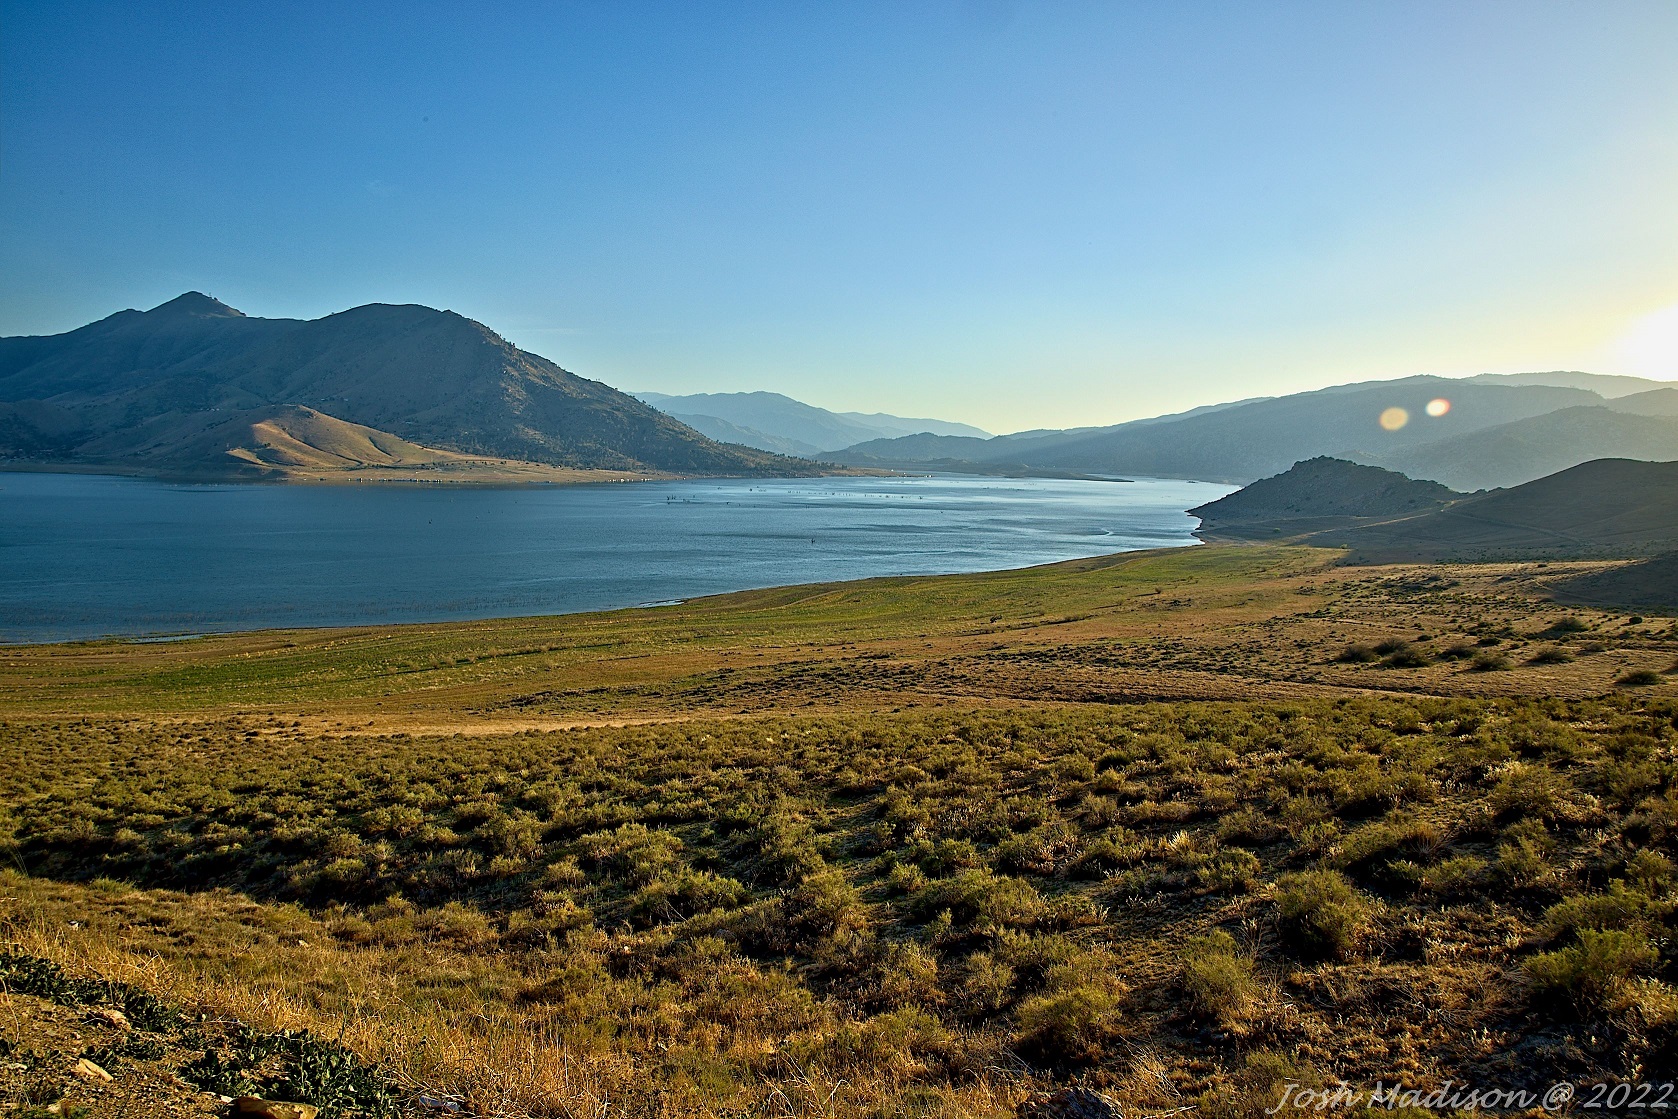
This method did turn in a nice photo but took a lot of time and effort during post processing. The photo below was the result of my first time doing this method. This was an early morning sunrise photo taken 12/26/2021.

- What is Auto Exposure Bracketing?
- Examples of Auto Exposure Bracketing
- Advantages of Using Auto Exposure Bracketing
- Camera Settings
What is Auto Exposure Bracketing (AEB)?
When you take a single photo, your camera takes the entire frame as one exposure. If you shoot one shot of a scene with dark and light areas, the light areas tend to overexpose the image. The darker areas don’t appear very well.
Most DSLR cameras have a feature called “Auto Exposure Bracketing (AEB)” that can be quite useful in these situations. By selecting this mode you will take three photos of the same scene at different exposures automatically. This way you save time not having to manually set the exposures for each shot.
When you select AEB, the camera chooses exposure it believes is right and takes one overexposed and one underexposed shot. This way you can select the properly exposed image later.
I have found merging all three photos works best for capturing all the frames details. Merging all three is very important especially in a scene with different lighting such as shadows. For best results, have your camera set to “Burst Mode” or “Continuous Shooting” for three shots with one shutter push. This way you capture the same scene with three different exposures.
Examples of Auto Exposure Bracketing
Let’s take a look at a few examples of how Auto Exposure Bracketing works. The first three images below were taken with an underexposed, normal and overexposed images.
Johnsondale Bridge Auto Exposure Bracketing

Notice how the shadows are darker in this image, the underexposed highlights the darker areas.

If taking a single photo, this is how the image would look.

This image highlights the brighter areas. Notice the yellow ladder going from the trail to the bridge.
Merging the three photos together in post processing averages out to create more definition. Below is the final photo with all three exposures merged together. No other editing was done with this photo, I’m just showing the difference between exposures.

Wooded Area On The River Bank Auto Exposure Bracketing


Other example bracketing articles.
- China Lake Paintball Fun Photography
- Sierra Mountain Clouds Landscape Photos
- South Creek Waterfalls Drone Action
- Filter Vs No Filter Joshua Tree Photo
Advertisement
Advantages of Using Auto Exposure Bracketing
The main advantage for using the Auto Exposure Bracketing is that it offers multiple exposure levels for later. You can shoot a scene with three exposures and when editing select the best exposure image, or merge the images. By using this feature you lower your risk of finding out later your photo was under or over exposed.
Camera Settings for Auto Exposure Bracketing
The tips in this section are specific to the Canon EOS R as this is the camera I use. If you use a different camera you will need to search how to configure AEB on your camera.
How do I configure Auto Exposure Bracketing on my Canon EOS R?
Click the “Info” button until the main menu appears

Click the “Set” button

A selection bar will appear around one box on the main screen.
Navigate the selection bar to the Exposure comp./AEB setting

Click the “Set” button
Scroll the “M’Fn” roller on the top right-hand corner of the camera for the exposure composition you want

Advertisement
Now your camera is set to take 3 different exposures of the same scene. For best results, I recommend using a tripod to keep the image still. If you intent to hold the camera, then you will need to set your Drive Mode.
How do I select Drive Mode?
Click the “Info” button until the main menu appears
Click the “Set” button
When a selection box appears around a box, navigate to the Drive Mode box

Click the “Set” button
Drive Mode offers 5 settings (Single shooting, High speed continuous, Low speed continuous, Self-timer: 10 sec and Self-time: 2 sec)
For handheld shooting, select “High speed continuous”

If using a tripod without a remote shutter release, select “Self-time: 2 sec”

Conclusion
I have always been drawn to landscapes and quickly learned landscape photography wasn’t easy to shoot. Single shot photos ended up with the skies overexposed and the land underexposed. Taking separate photos of the sky then then landscape worked but took a lot of effort. Learning how to use Auto Exposure Bracketing was a game changer.
Using this method shooting landscapes really changed my landscape photography. Now I just configure my settings, shoot the landscape and editing is a breeze.
If you have taken photos where lighted areas are overexposed I highly recommend you try this setting. The good thing about digital photography is you can take a ton of photos and edit when you get home.
Today we discussed what Auto Exposure Bracketing is, examples, advantages and settings. Now your camera is configured for auto exposure bracketing. You are ready to begin taking photos.
I hope you found this article useful. Let me know what your thoughts by rating this article and comment below. If you try using this method, please let me know how it worked for you.
I kept coming up with my own explanation for the word, “bracketing”. I was somewhat close, but now I know. I’ll have to try this technique.
I have noticed a difference in many of my photos since I started bracketing. It really does make a difference and allows for more colors and shadows to show in the photos.